
Passive Response Profiles
GBounty Profiles Designer gives you the ability to create your own vulnerability profiles to the passive scanner.
Passive Response Scanner: Look for strings/regex (or the absence of them) in HTTP response
Next let’s see how passive response profiles are created to look for something (or the absence of it) in the HTTP response.
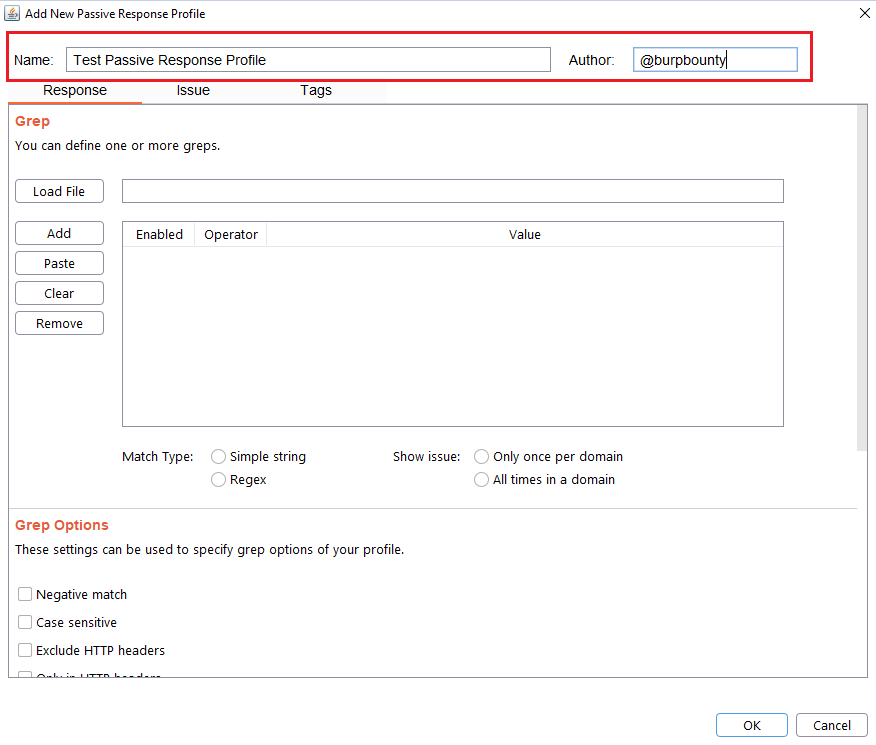
Step 1 (Required): The name and author of the profile are first set.
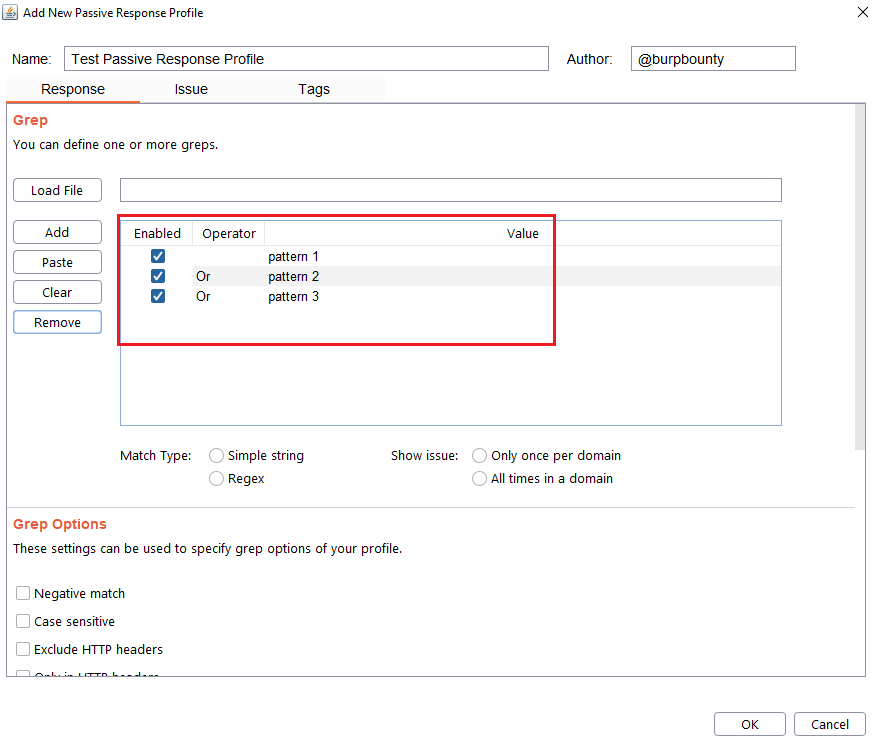
Step 2 (Required): It specifies the pattern or patterns to look for in the HTTP response.
You can add the pattern by click on the “add” button and modifying the value, or by pasting it directly with the “Paste” button if you already have it in the clipboard.
You can also load a patterns file (one per line) with the “Load file” button.
At the same time, the logical AND operator can be used when searching for a value. This allows us to further refine the profile and avoid false positives.
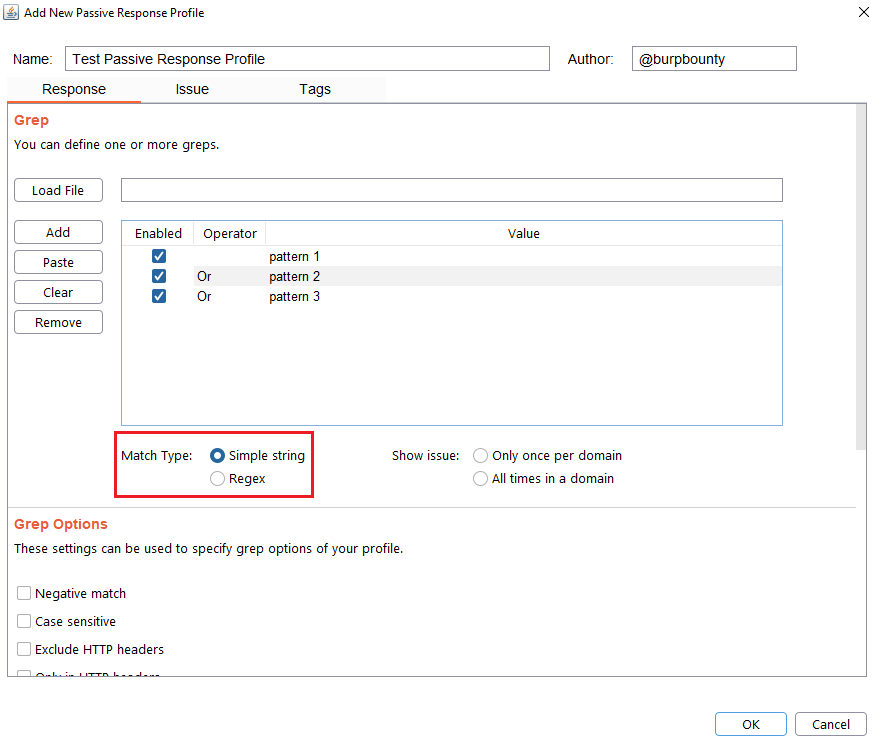
Step 3 (Required): Specifies which type of pattern to search in the response.
Simple string
Regular expression
In this section you specify, if in the insertion point you want to search for a simple string or a regular expression.
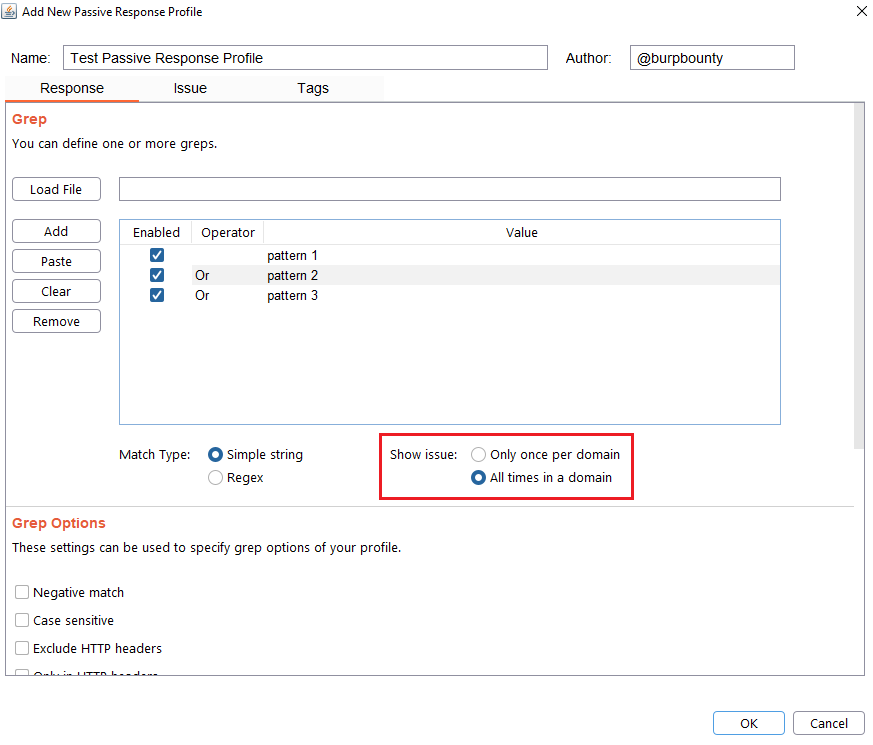
Step 4 (Optional): Specify how many times this issue will be displayed for one domain.
Only once per domain: Only once time for all HTTP responses in one domain.
All times in a domain: Every time that the pattern is detected in the domain HTTP responses.
Step 5 (Optional): Grep options are specified.
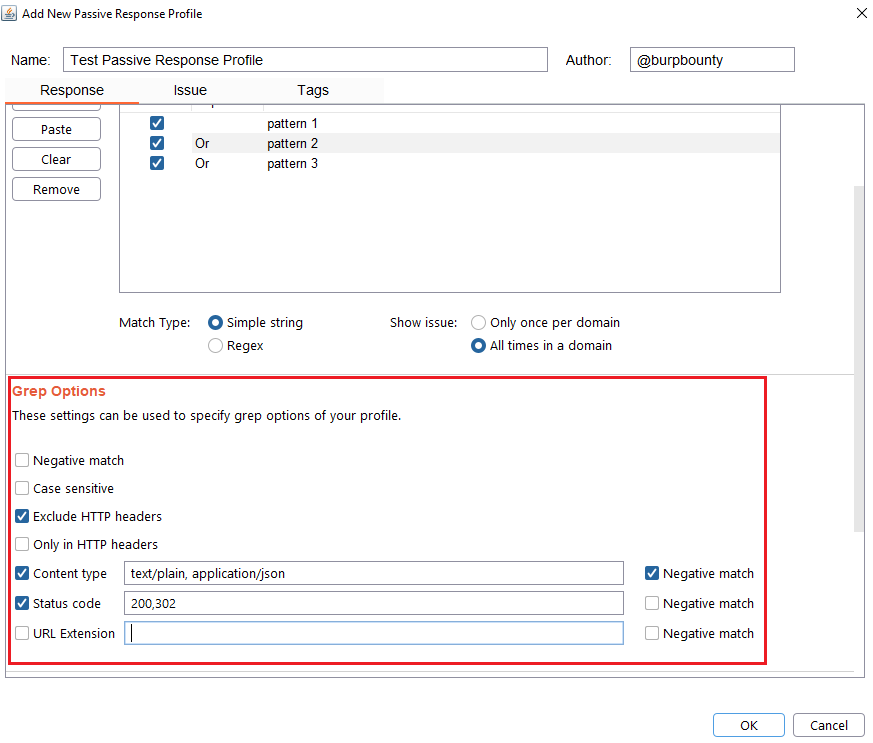
Negative match: It will show you the alert, if the pattern you have set is not present in the HTTP response.
Case sensitive: The pattern will be searched in the HTTP response considering that it’s case sensitive.
Exclude HTTP headers: The pattern will NOT be searched in the HTTP headers. (Only in the body of the HTTP response)
Only in HTTP header: The pattern will ONLY be searched in the HTTP headers.
Content type: The pattern will only be searched in the HTTP response if the content type of the HTTP response is equal to the “content type” field. You can specify multiple content types separated by commas. You can also specify that ONLY look for the pattern in the HTTP response if the content type is NOT equal to this field, marking the “negative match” checkbox.
Status code: The pattern will only be searched in the HTTP response if the Status code of the HTTP response is equal to the “status code” field. You can specify multiple status code separated by commas. You can also specify that ONLY look for the pattern in the HTTP response if the status code is NOT equal to this field, marking the “negative match” checkbox.
URL Extension: It will only search for patterns if the extension of the URL to which the request is made, matches the extension or extensions specified in this field (for example, php or jsp, etc) or if it doesn’t match (negative match checkbox)
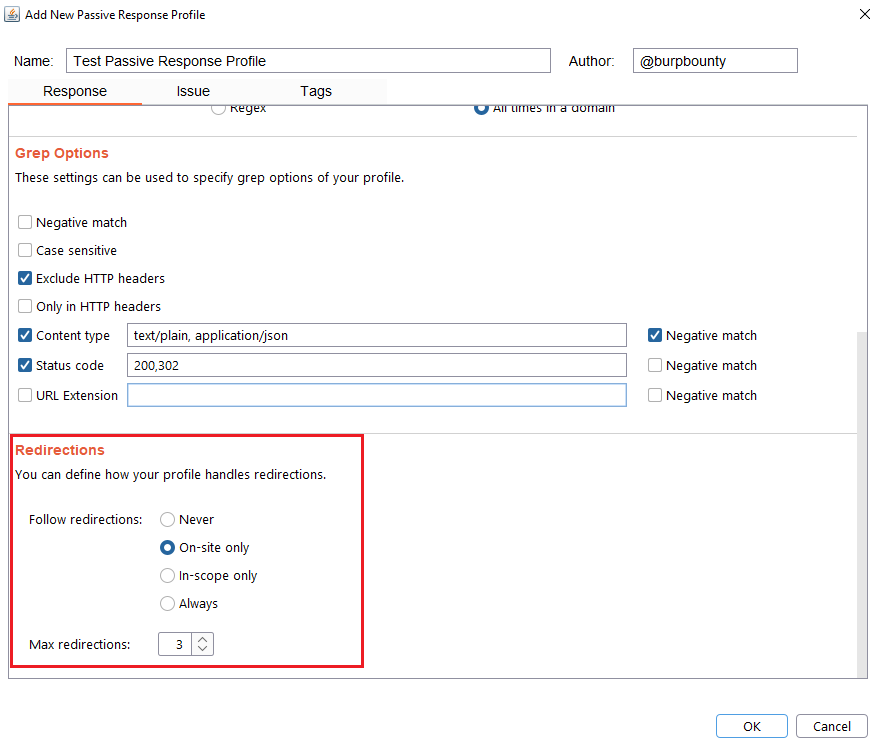
Step 6 (Optional): Redirection options are specified. You can choose between the following options:
Never: As the name suggests, no redirect will be followed.
On-site only: It will only follow the redirects that lead to the same site of origin.
In-scope only: It will only follow redirects that lead to a domain that is in scope.
Always: As the name suggests, it will follow all redirects.
Max redirections: In this field the maximum number of redirects that will follow is indicated.
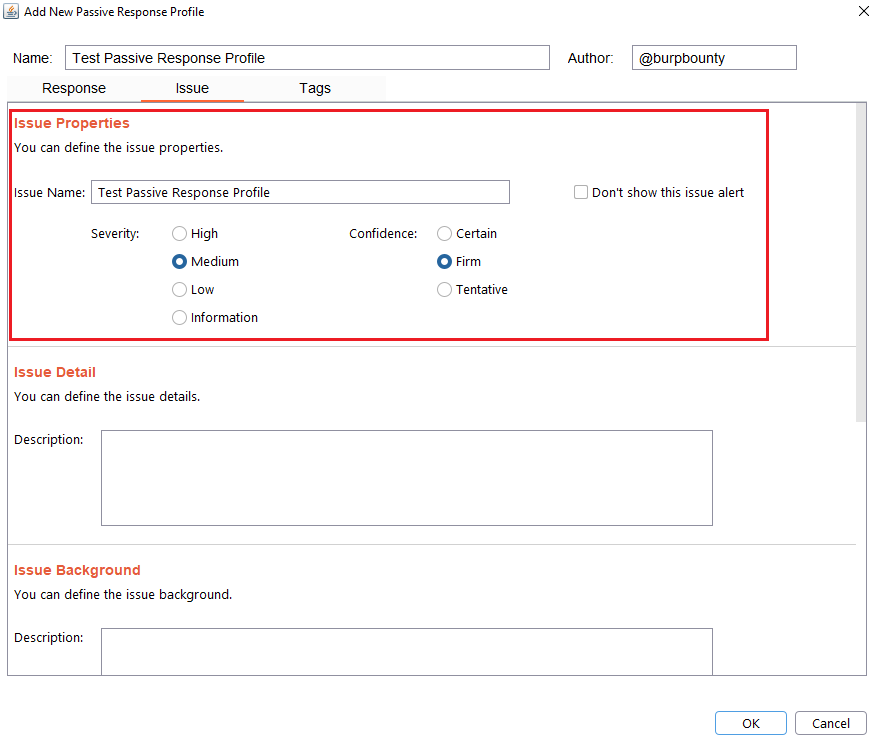
Step 7 (Required): It specifies the name that will appear in the alert and the criticality of that alert.
It’s necessary for the issue to appear, give it a “Issue Name” and complete the two fields, both the “severity” and the “confidence”. The issue descriptions are optional.
If you check the option “Don’t show this issue alert” the alert will not be shown in the dashboard, it will only be used for the Smart Scan.
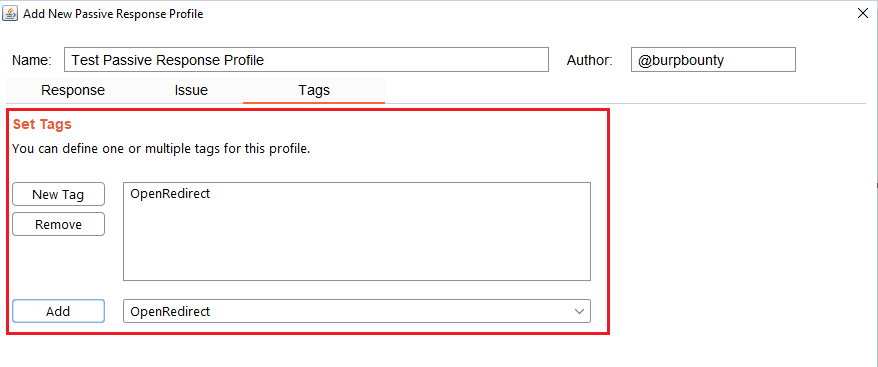
Step 8 (Optional): A tag is created and assigned to the profile. This is useful for better organization of profiles.
Last updated